
How To's
How To: Patio and Paver Base DIY
Building a patio base can be a little overwhelming because there are so many materials available. This guide is sure to help you pick out the right materials for the job. We recommend going on YouTube and watching several how to’s before you order and begin the project. It is a big undertaking, however the reward can be thousands saved, increased home value, and years of summertime fun.
Your going to need to remove soil and replace with 5 to 6 products. Below is a basic step by step tutorial.
- Paver edge. This is typically a plastic or metal edging that is laid down in the finished shape that you would like the patio to be. It gets nailed down with accompanying landscape spikes into the earth. Available at any big box store.
- Landscape Fabric is an optional product. This is a permeable sheet of fabric that separates soils from materials such as stone & mulch. Some use this, some do not. We recommend researching if you want to include this step. You cannot use plastic here. it must be a permeable product if you choose to do so. We usually have this in stock.
- Sub-base or main base course. This is usually 3-8″ deep depending on if it is foot traffic or vehicle traffic and frequency of use. For the base course, this is measured using a “compacted stone calculator” such This calculator will calculate the base material needed in tons in which it is commonly sold by. You will need to input you length, width as well as your desired depth. This material gets laid down then compacted with a plate vibration compactor machine or hand “tamped” using a tamping tool. Check your local big box store for rental or purchase pricing.
- Leveling Course. This is typically an inch or less and is laid down and then “screeded” to a level surface. It gets compacted in the next step. This can be calculated using a loose stone calculator below.
- Laying pavers or stone. Pavers will get laid down into the bed of loose leveling course. Pavers then get tapped with rubber mallet of some sort which will level and set the stone.
- Interlocking Pavers. once the patio is complete, we need to fill the gaps in between your pavers or stone. you can use Torpedo sand or polymeric sand. Both will get swept into the joints to lock the stones together.
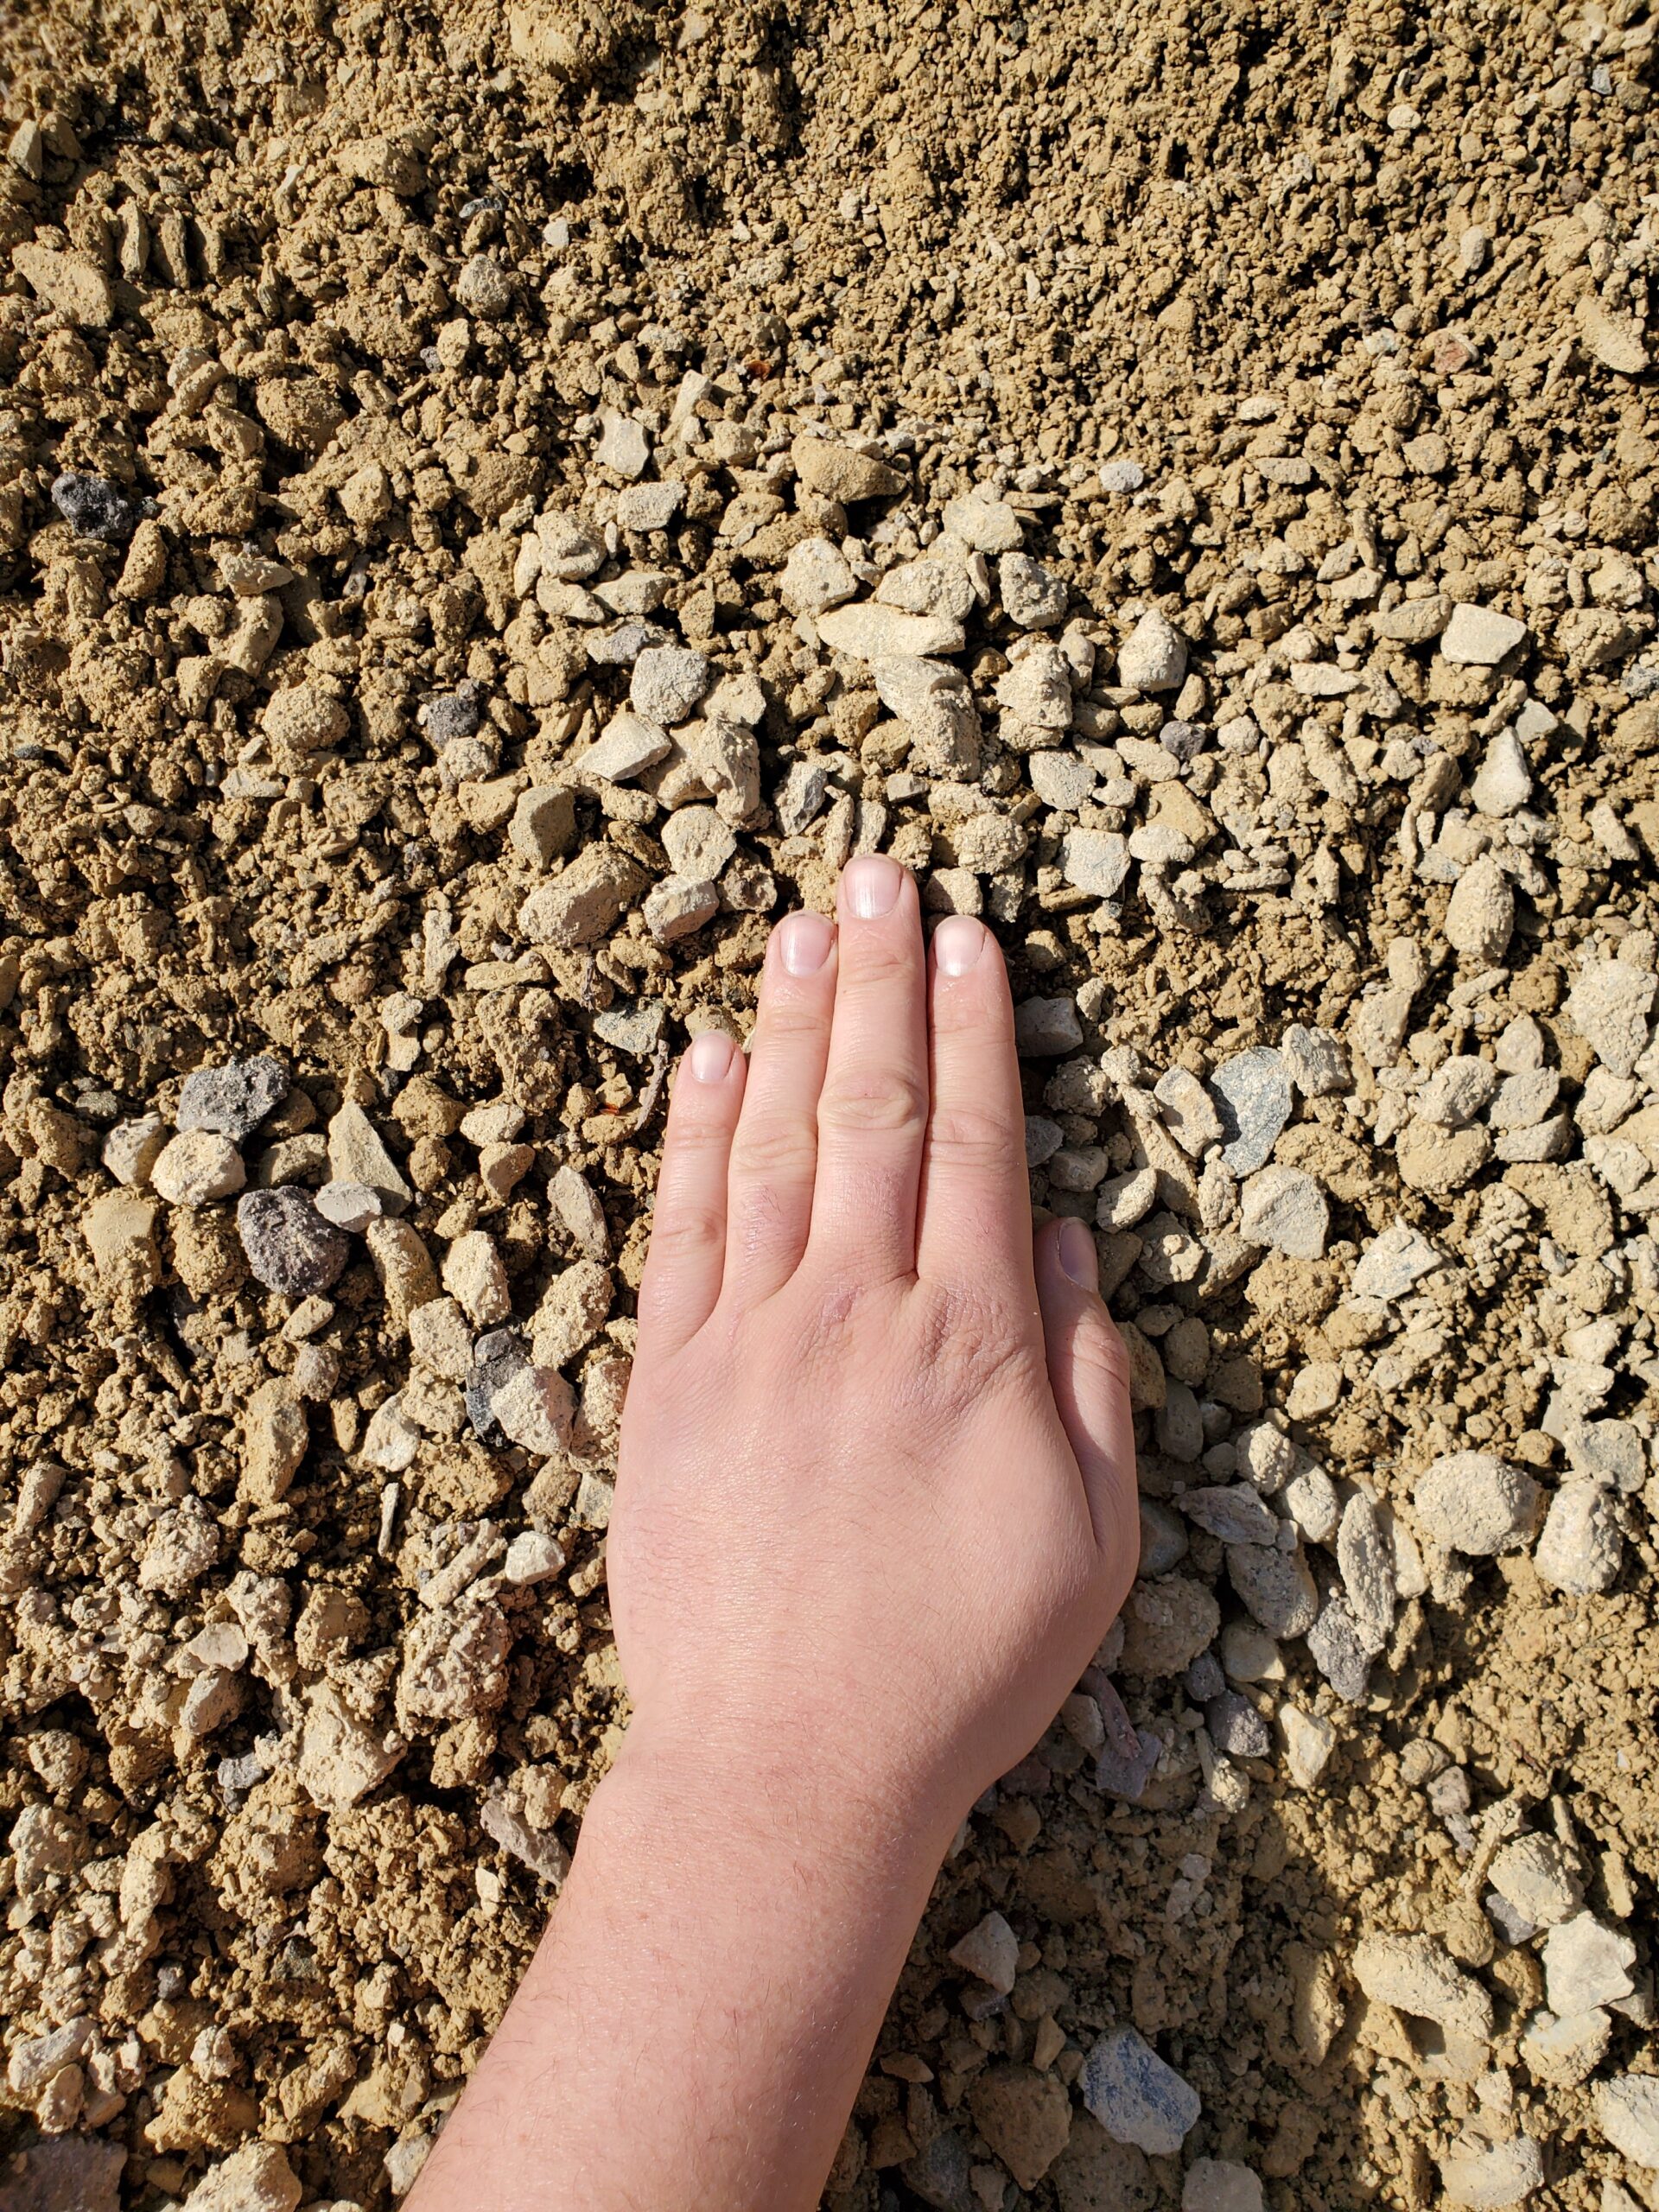
3. Sub-base Course
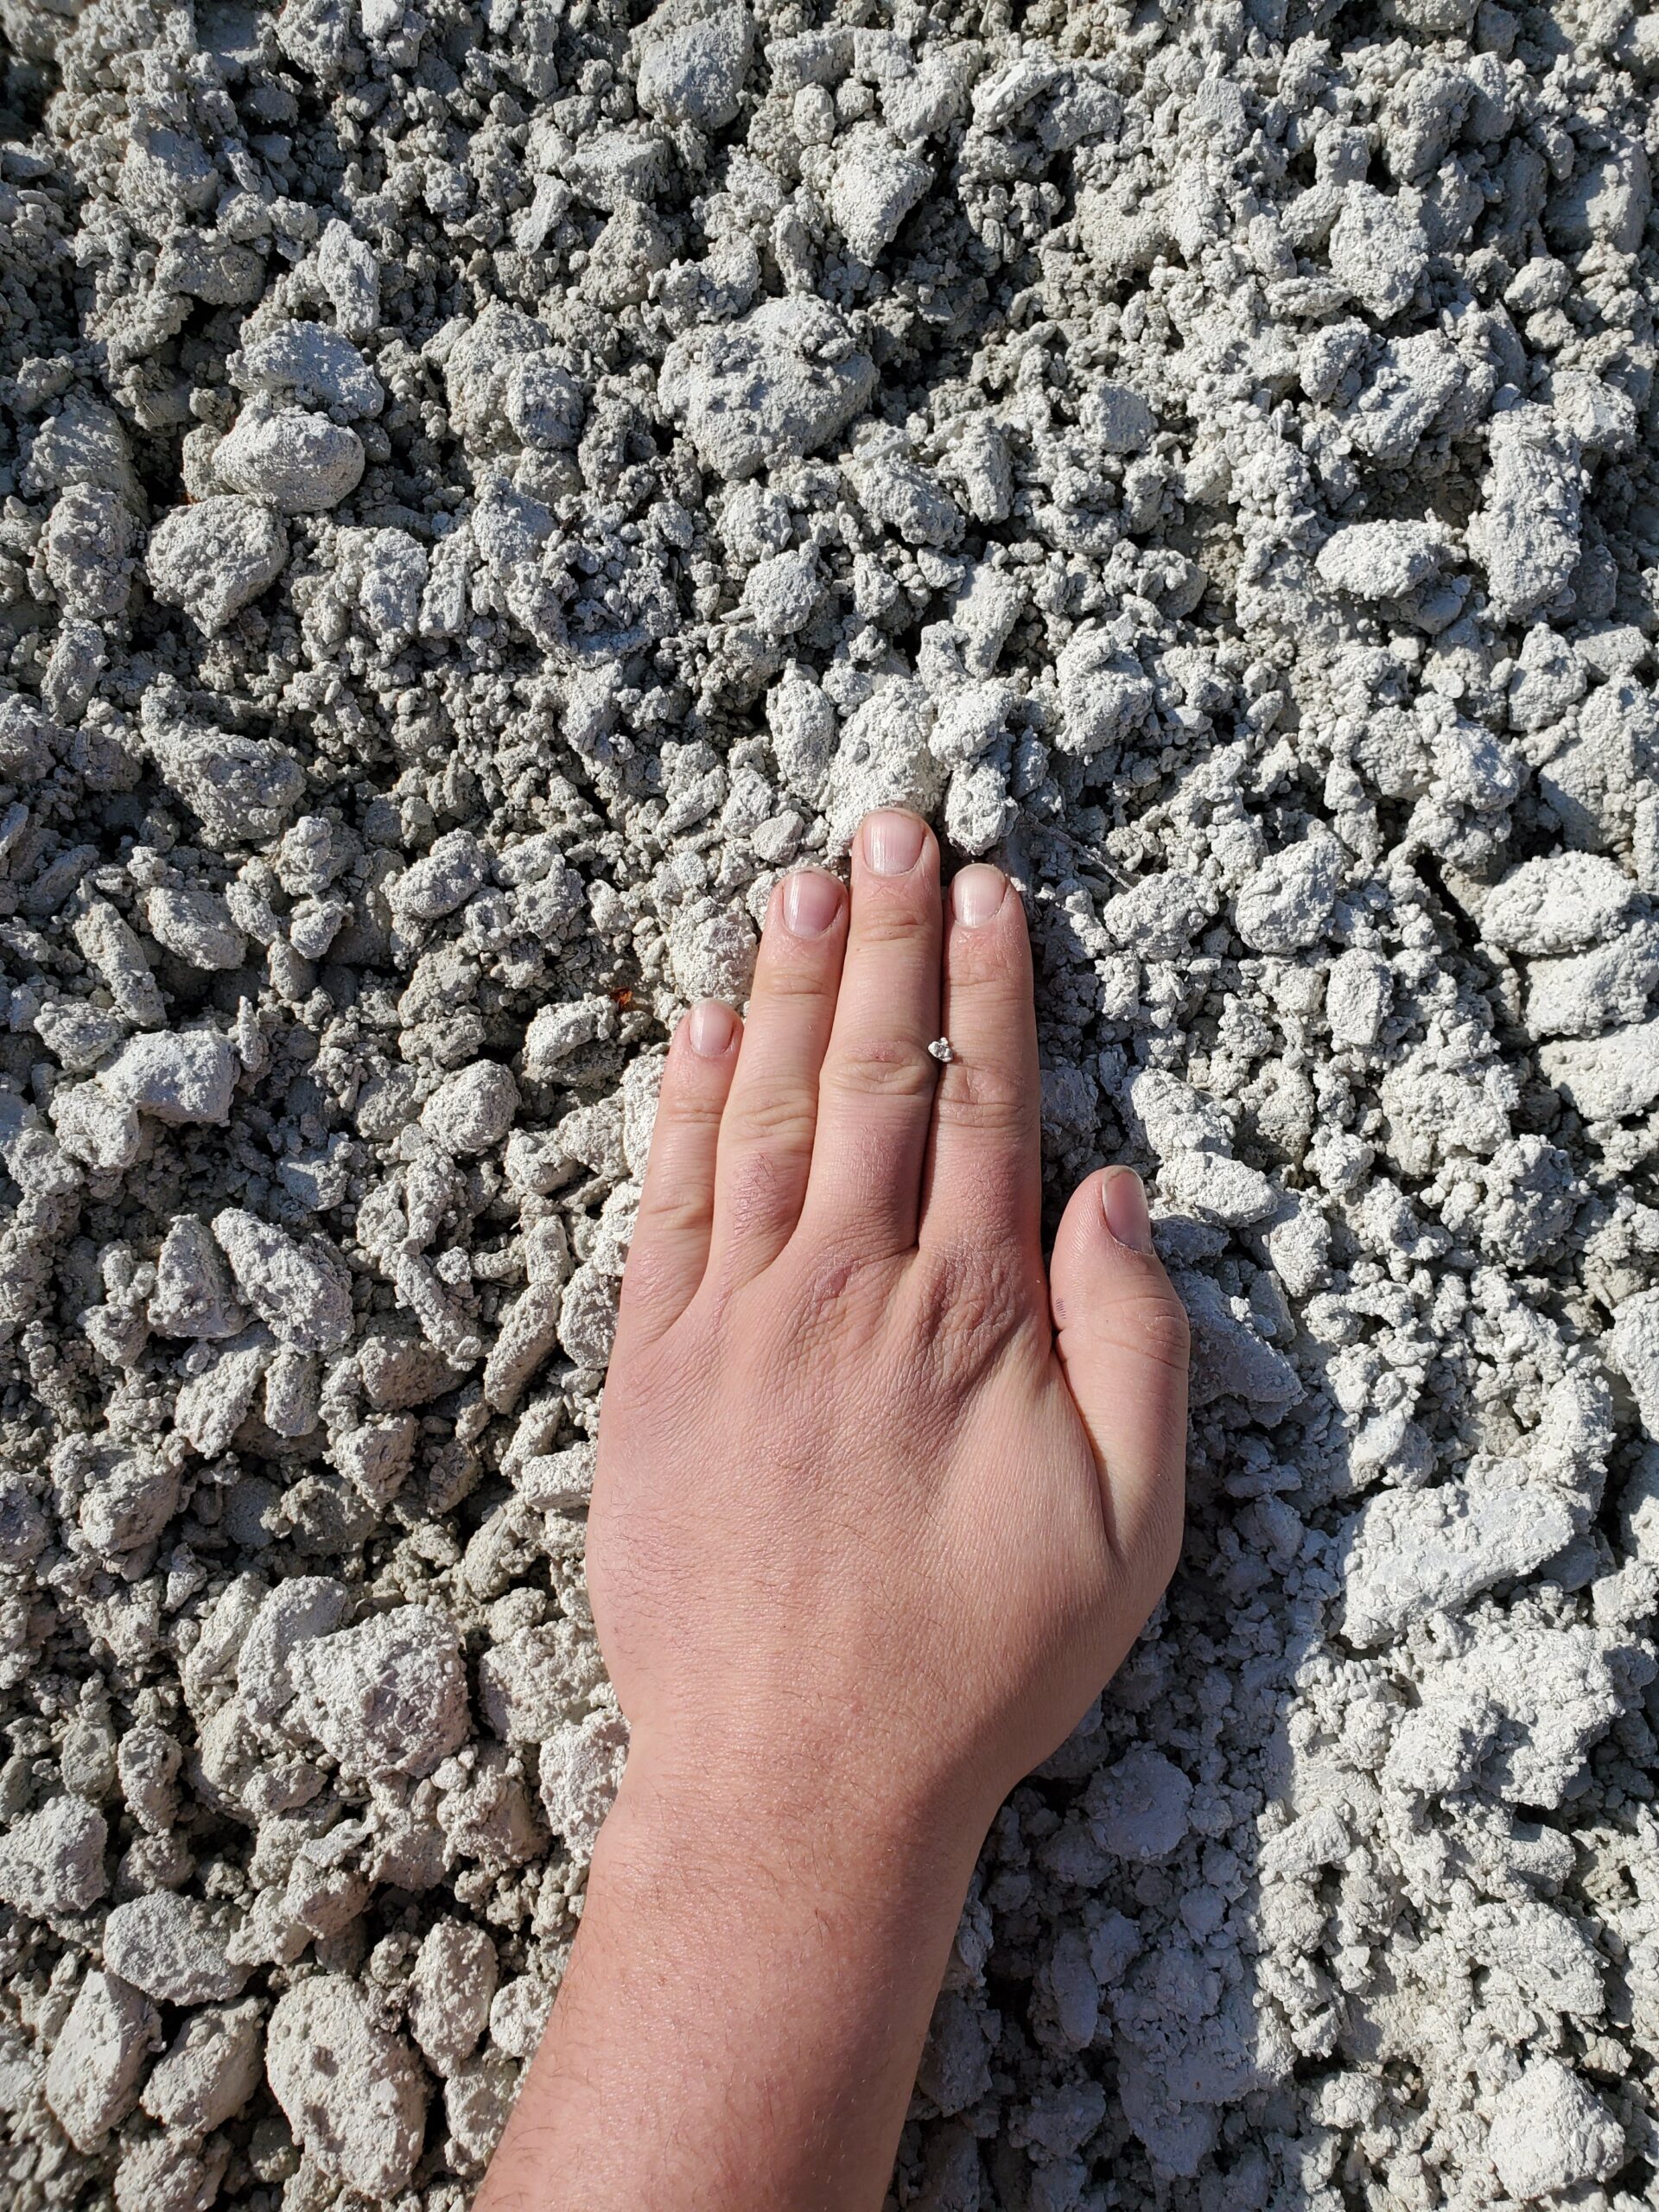 |  |
Ca6 Grade 8 (Limestone Product)
| Ca6 Grade 9 (Fieldstone Product)
|
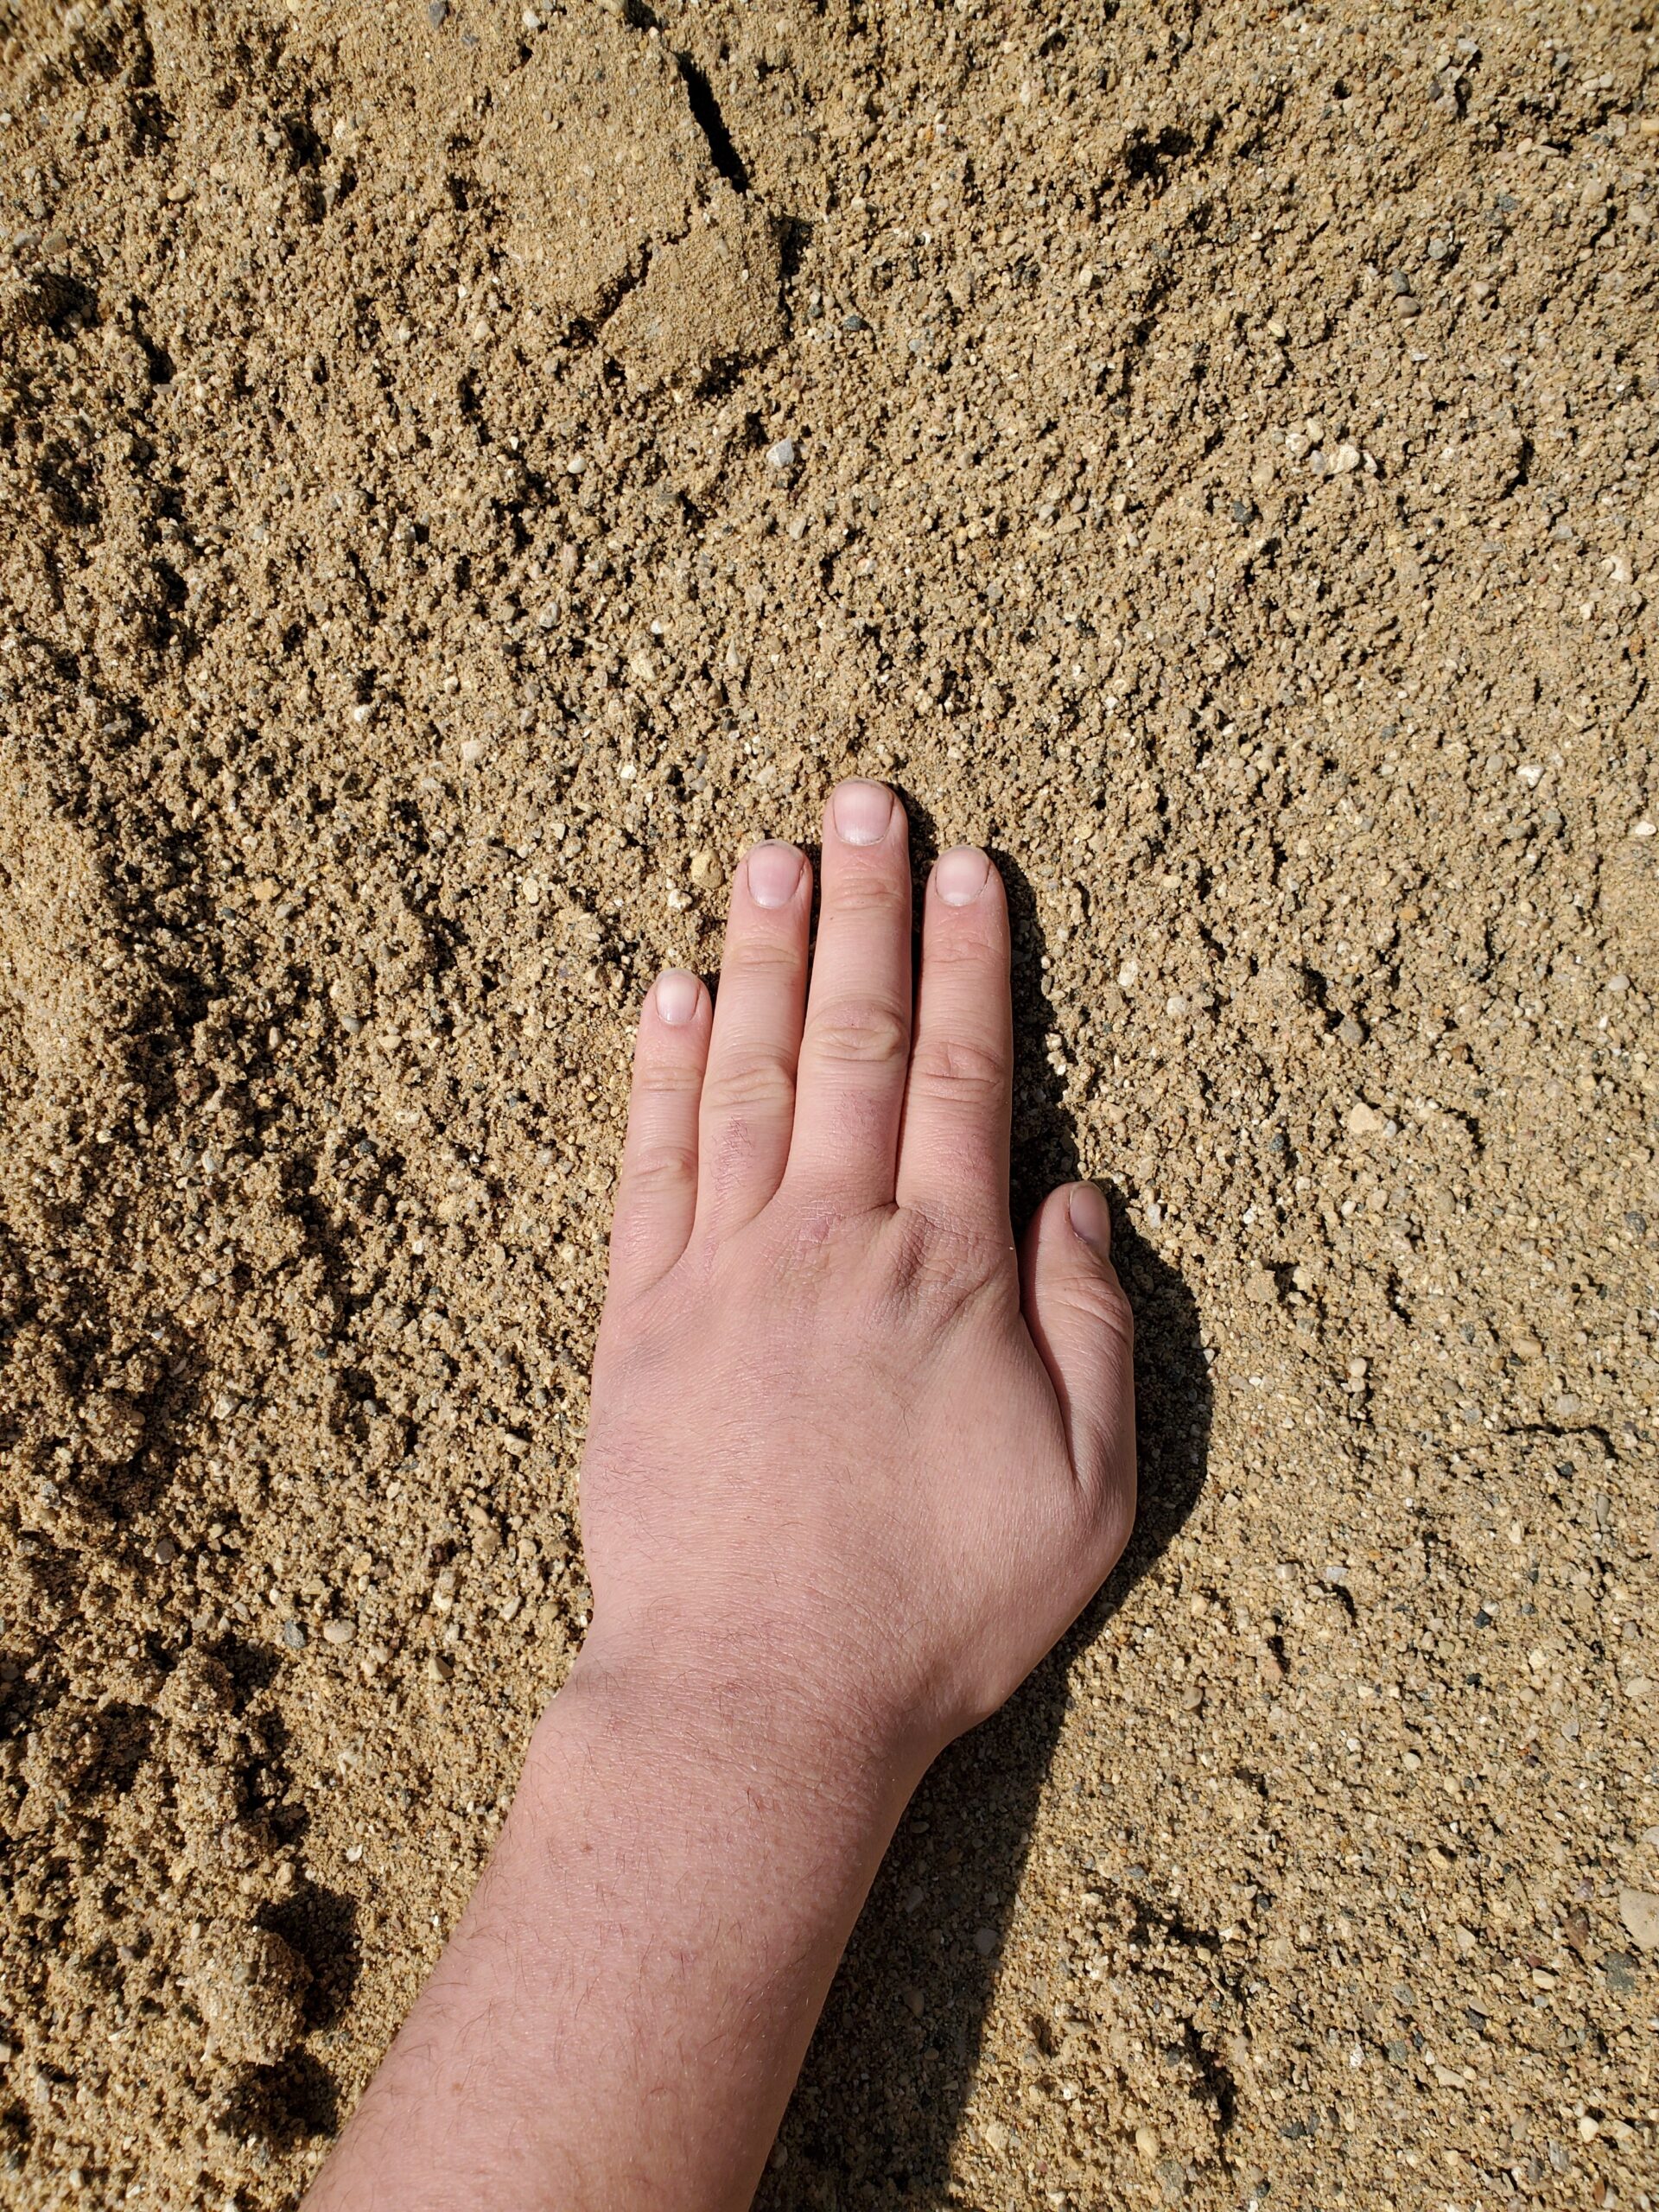
4. Leveling Course
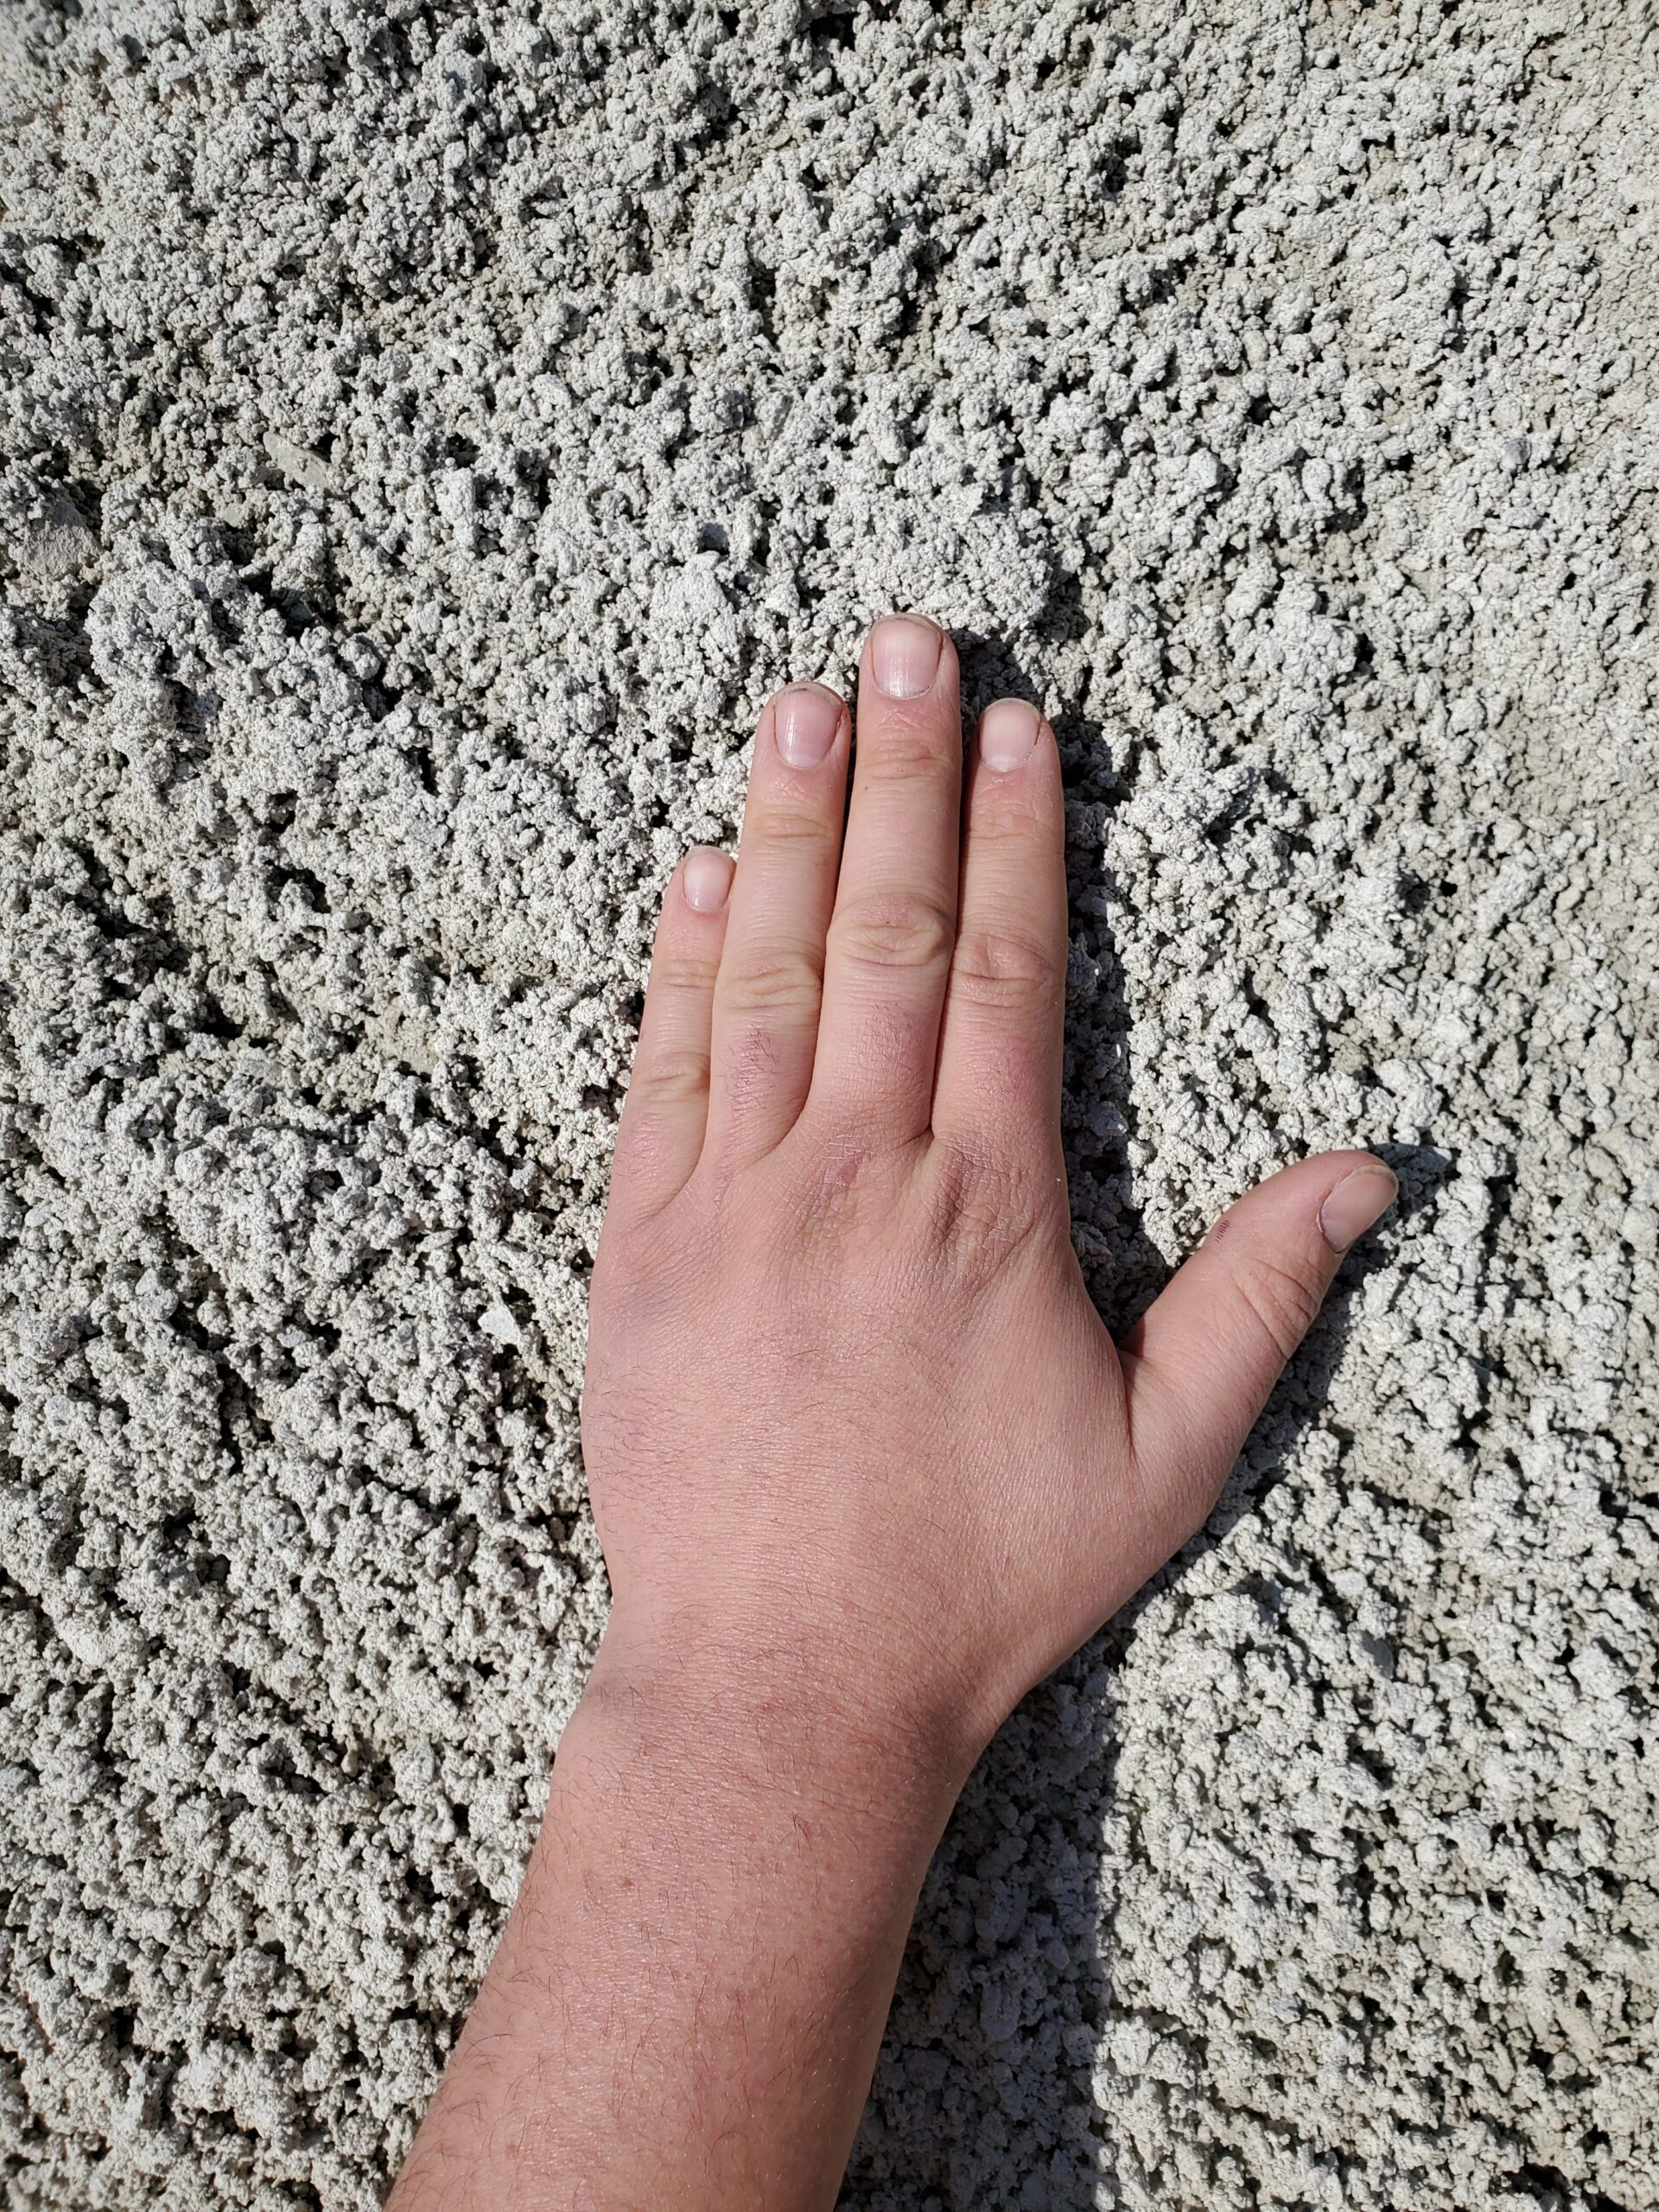 |  |
Limestone Screenings
| Torpedo Sand
|
6. Interlocking Pavers
| |
Torpedo Sand
| Polymeric sand
|